Unreal Engine
To start this project I sourced and put together an animation sequence. This choice in workflow was to challenge myself in terms of building a map in Unreal Engine 5 and also in sound design.
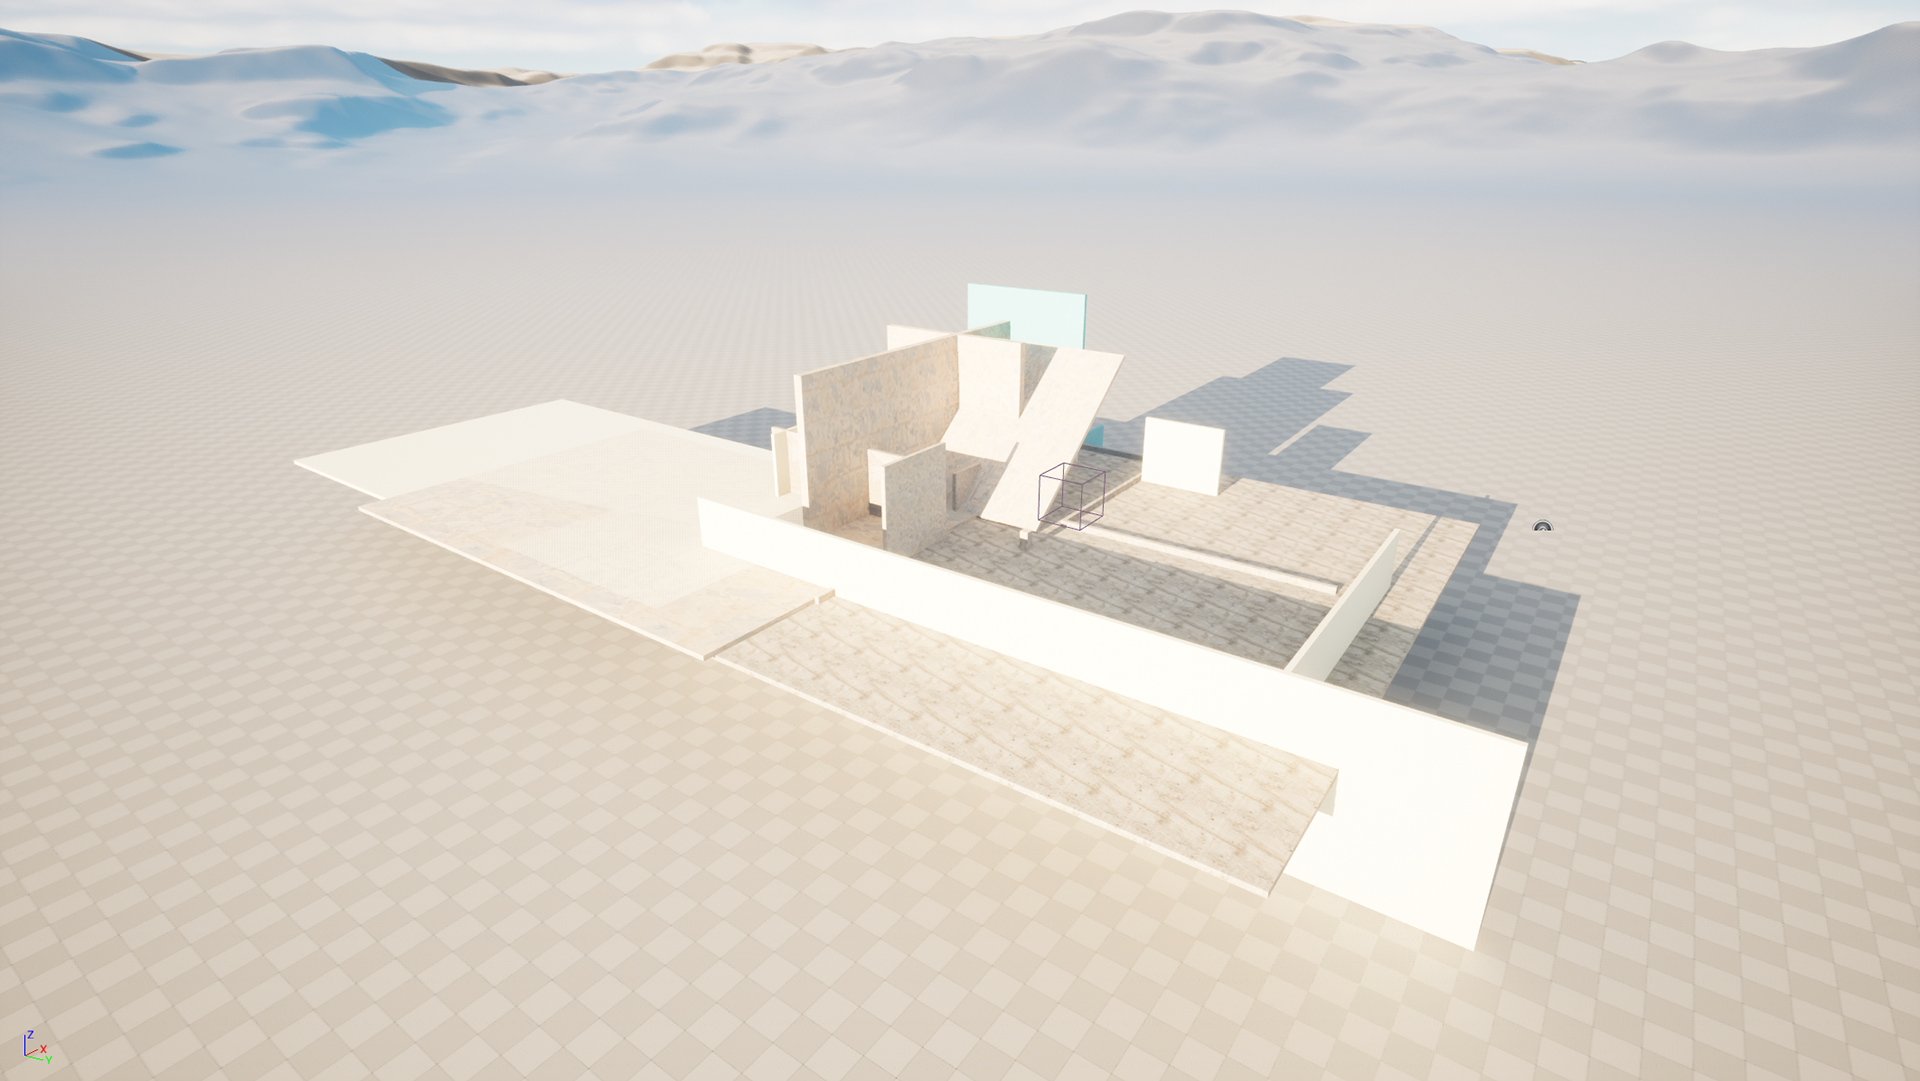
Once the animation was complete I started to build the map around the sequence. This was my first experience with map building in Unreal and it was a great opportunity to learn. I used default sized wall sections to construct a room with the sole purpose of creating an interior that suited the animation, therefore the external appearance was not important.
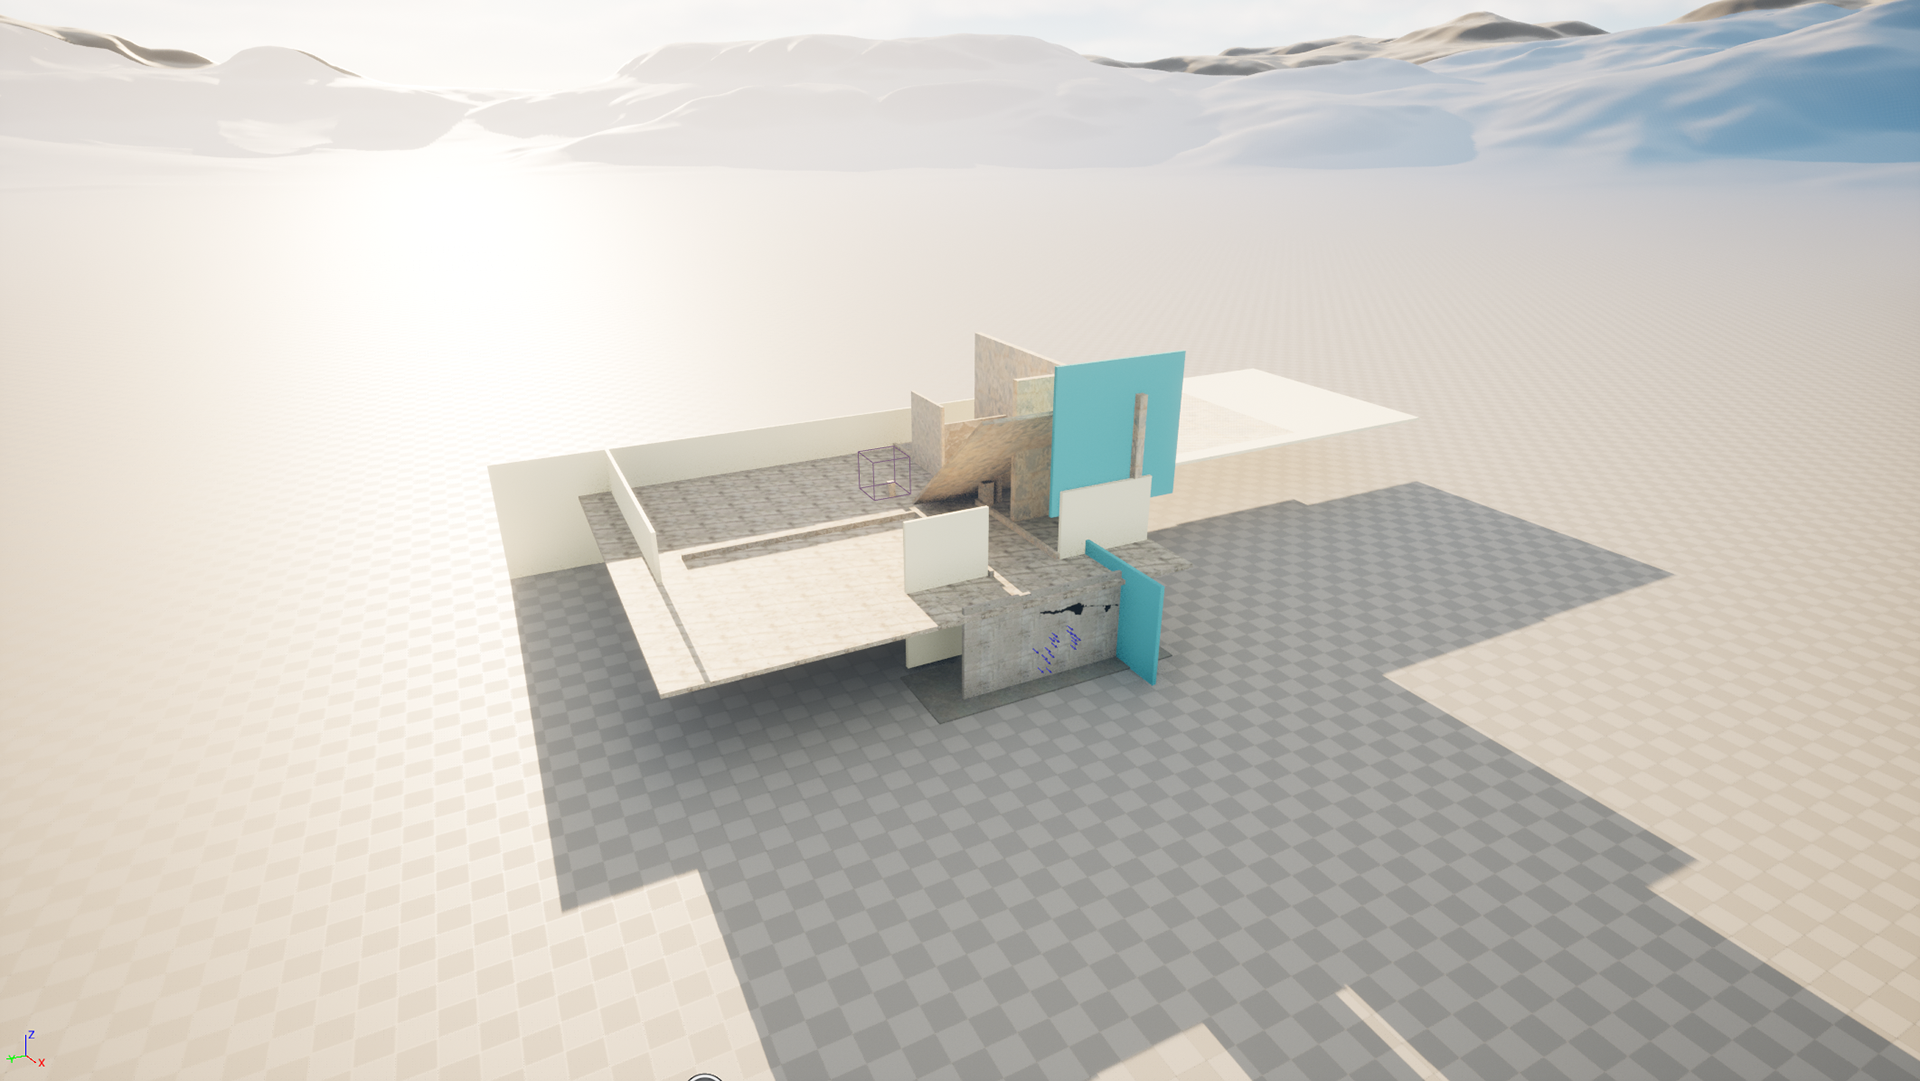
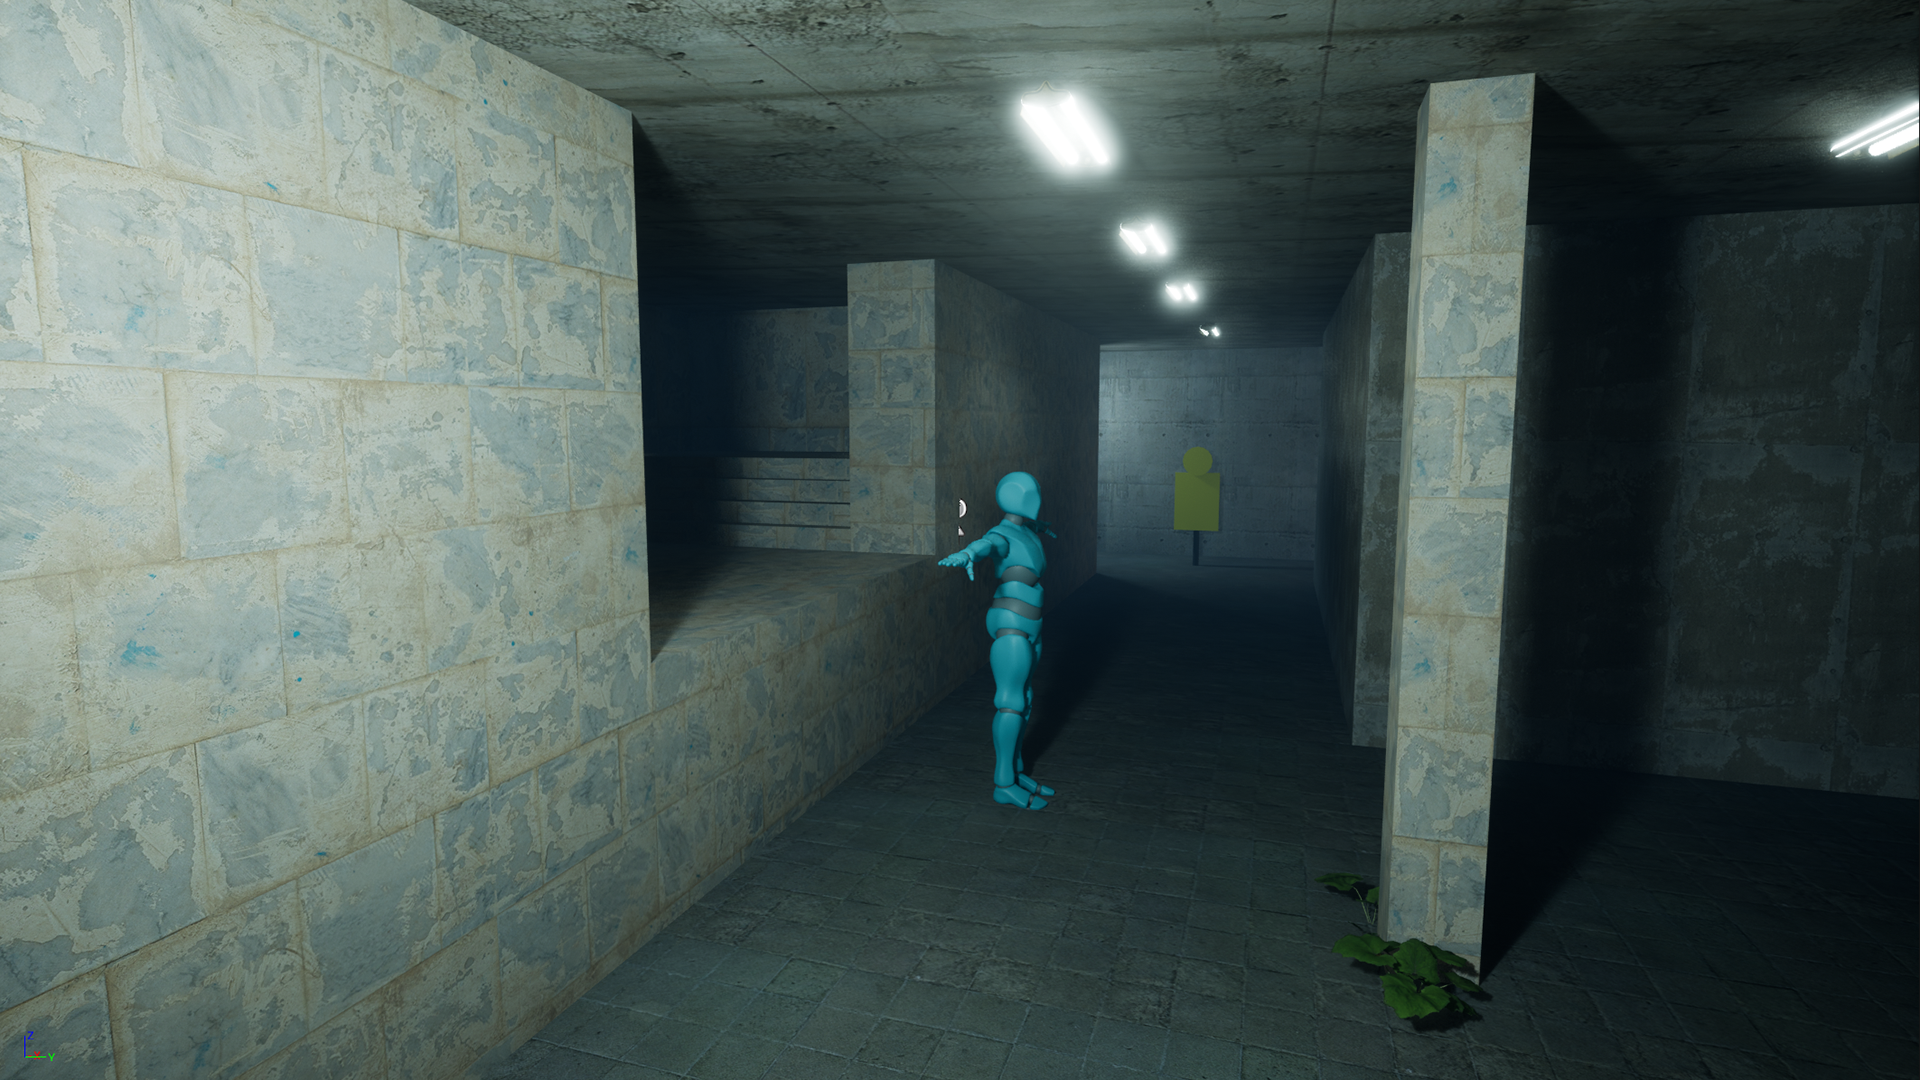
With the basic map constructed I began to add details through decals. These help to break up the textures and bring the map to life with some realism. With an idea as to how I wanted to film this scene, I did not waste time working on areas that I knew wouldn't be seen.
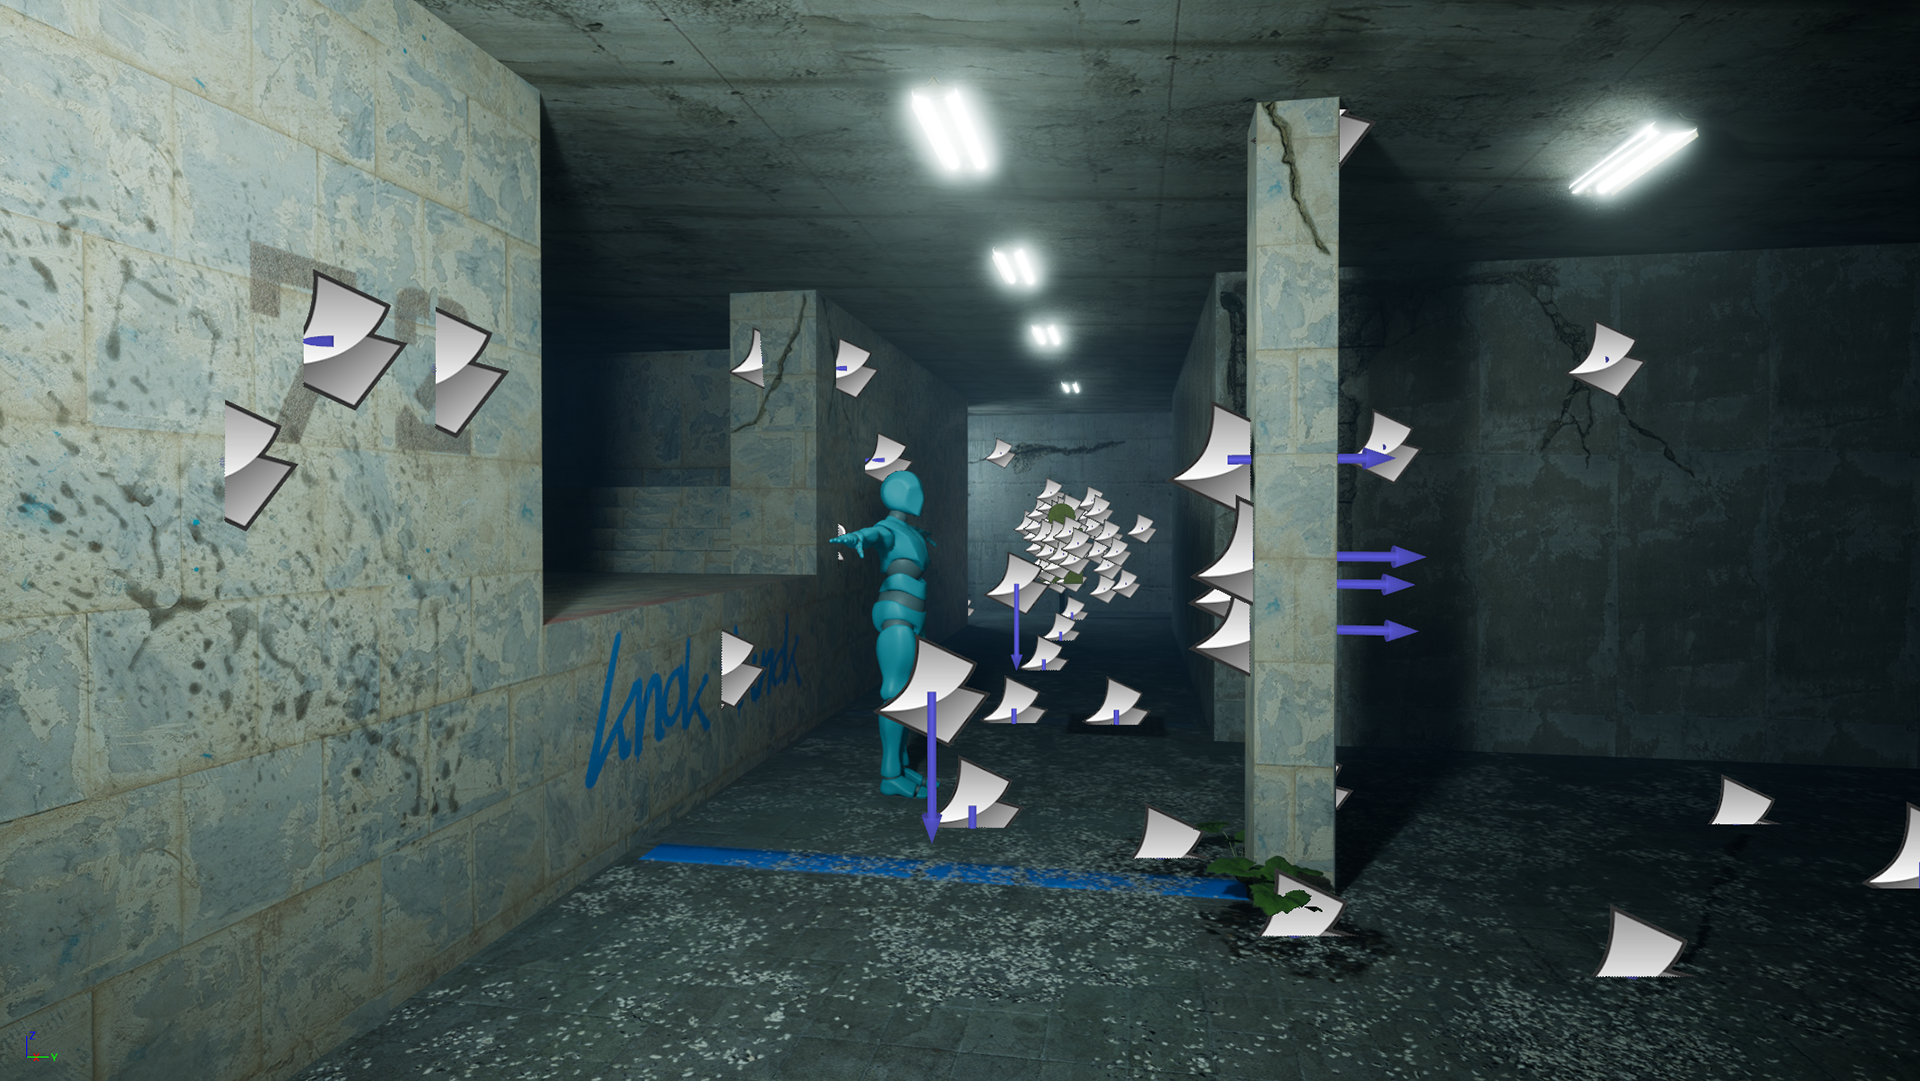
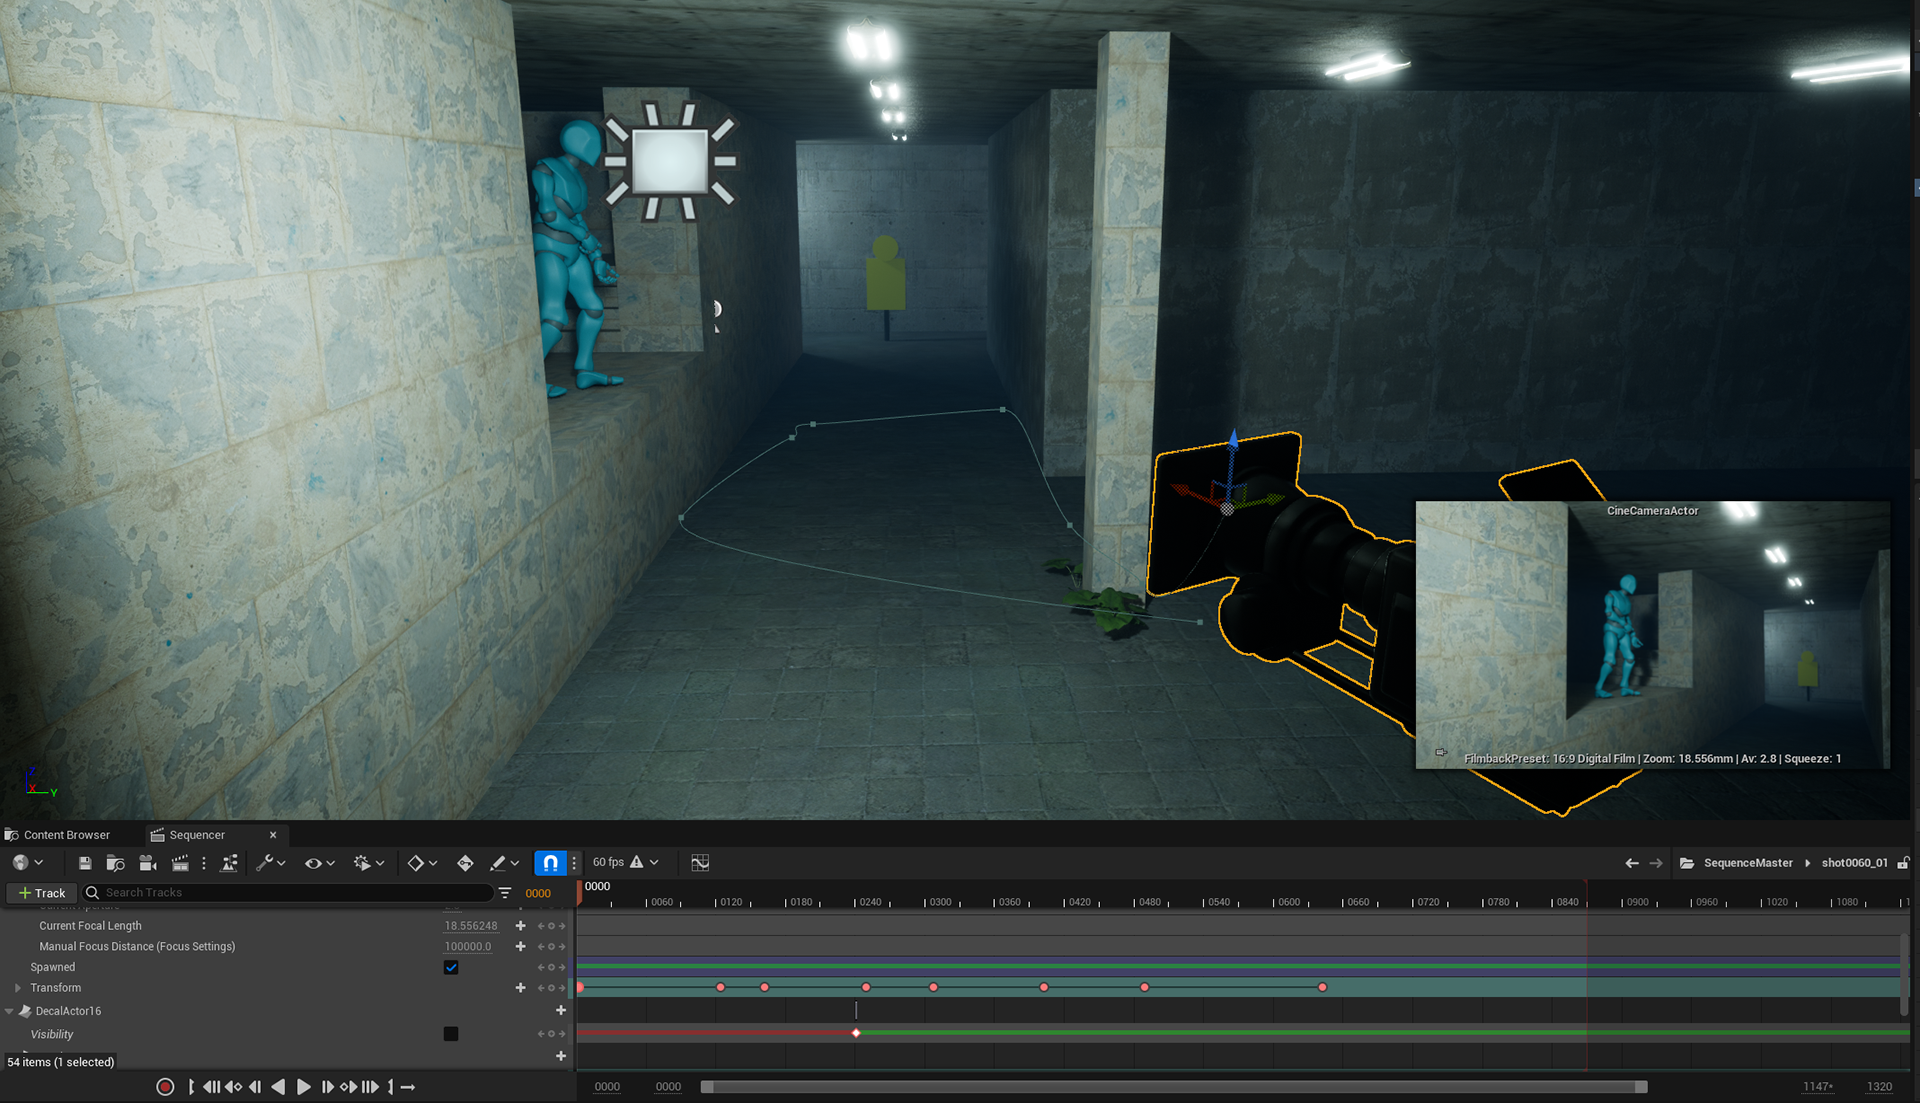
With the map complete, I worked on the camera and how I would capture the scene. The camera was rigged to move between points as the animation played, allowing me to be creative and close up to the character or drop back to capture more of the environment. With the animation, map and camera all ready, I exported the footage.
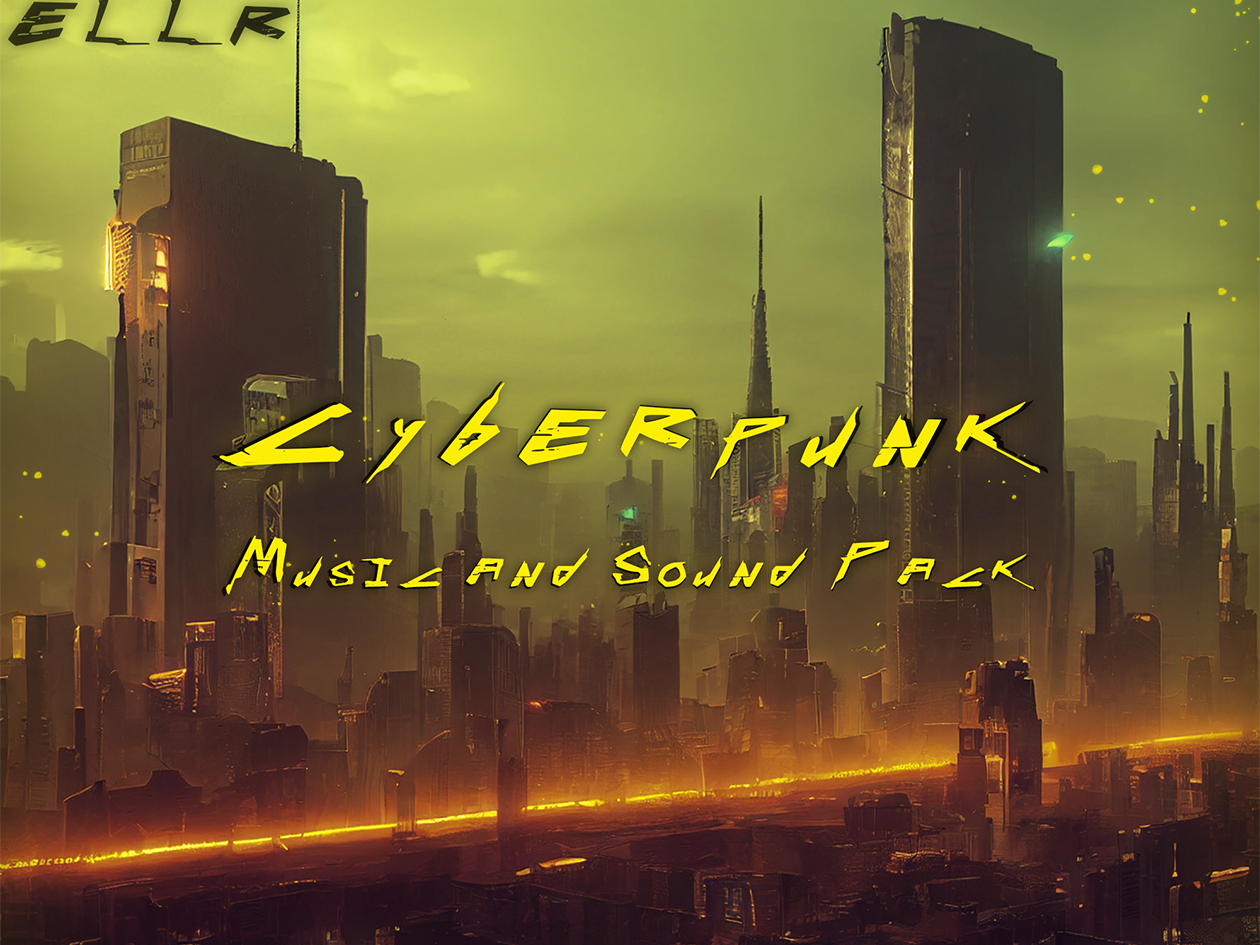
Sound Effects
With a complete video, I took the approach that this visual had been presented to me as a short film that required realistic audio to accompany it.
The first step was the ambience. I recorded machine and electrical buzzing from a washing machines and a drill, mixed with recorded atmospheres from my own bathroom with the fan on and a field recording with gentle wind. This gave me plenty to work with as I EQ'd certain frequency ranges I wanted from each sound before mixing them to create the dark and run down background track. I created a flickering light effect when creating the level, which gave me a visual in which to match some audio with. I took the higher pitched machine buzz and automated it alongside the visual so that the audio spikes in volume when the light flickers. This is a very small detail which is almost unnoticeable unless pointed out but these dynamics are important for atmospheres and vastly help with the realism.
Next up were the gunshots. I knew this would be a very difficult one for me with no access to any real firearms, however on a recent holiday I took some recordings from a gun range. While not the greatest quality, the gunshots are such a strong sound that they don't require perfect recording to still sound good, therefore it was a simple drop in and edit to have them implemented.
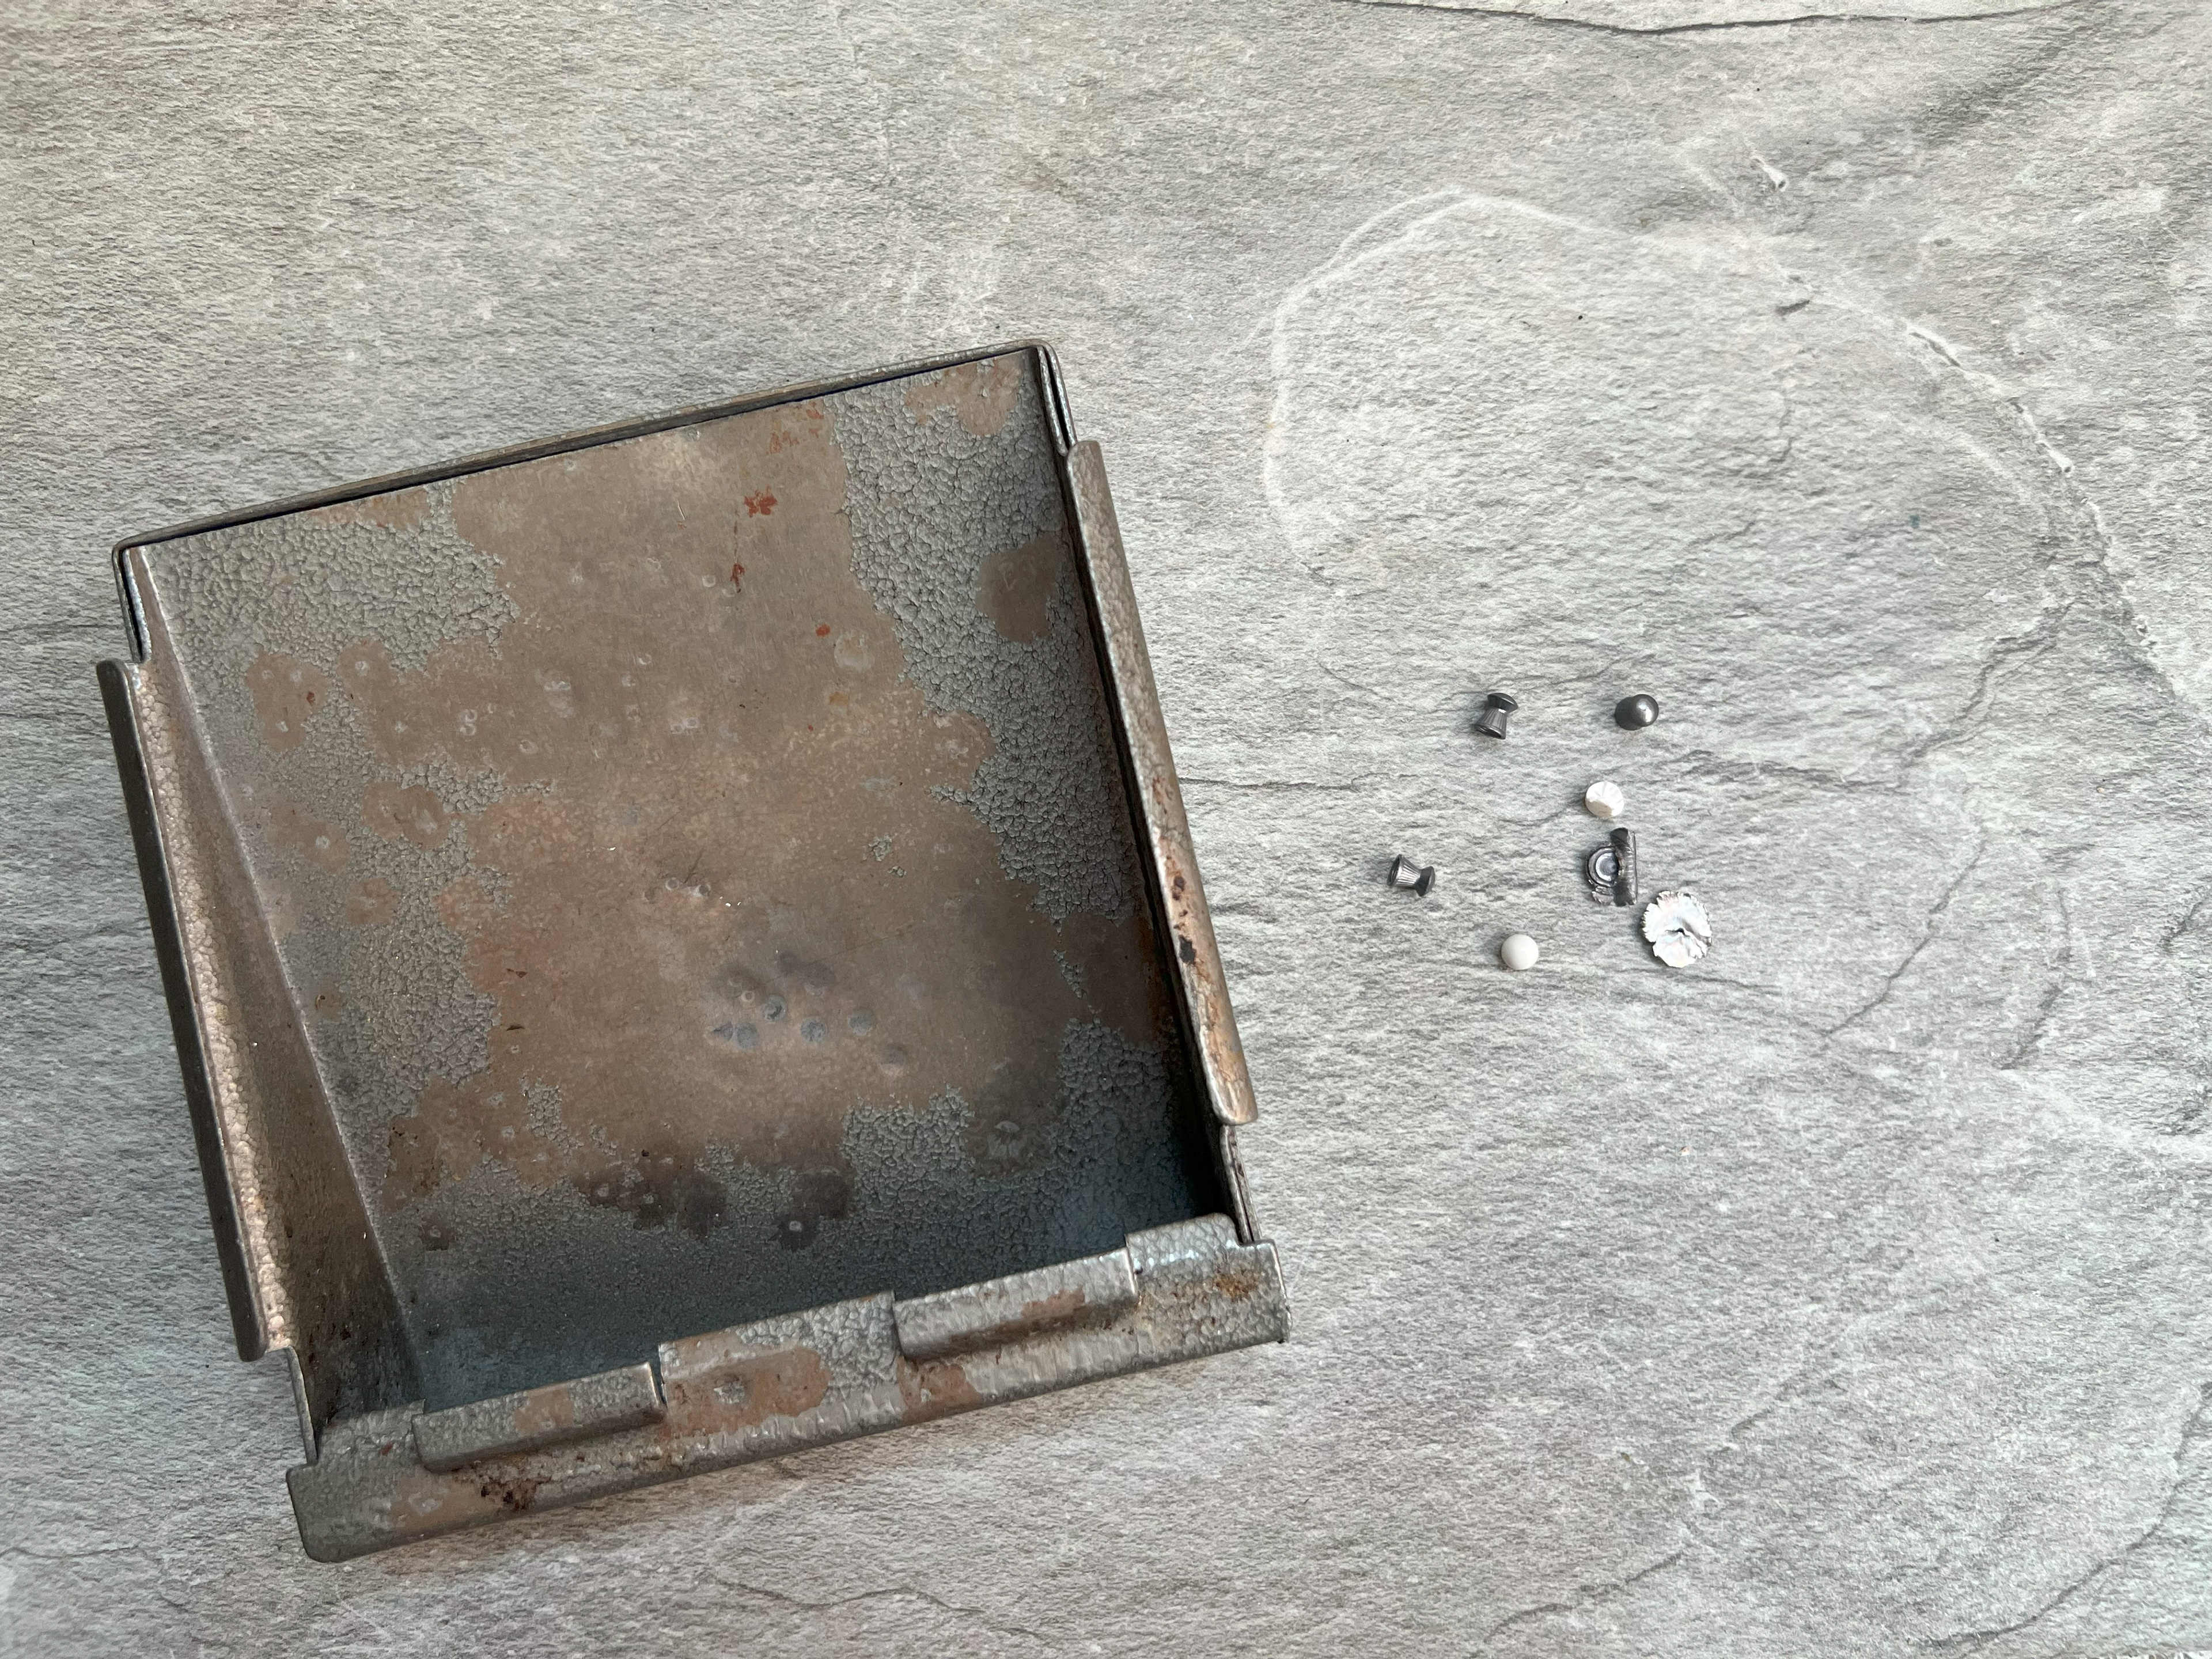
The bullet impacts were a fun one to record. I took an airsoft gun as well as a .22 air rifle and fired them at a metal target to record the projectile hitting. The airsoft shots produced an underwhelming sound, however the .22s sounded perfect against the metal. When these were added, I panned the sounds to where the bullets are hitting onscreen for more realism.
For the gun handling sounds I simply mimicked the onscreen actions with airsoft guns. Though these guns do not fire live rounds, they are built from the same materials as the real counterparts and function the same way, allowing me to easily recreate the actions onscreen.
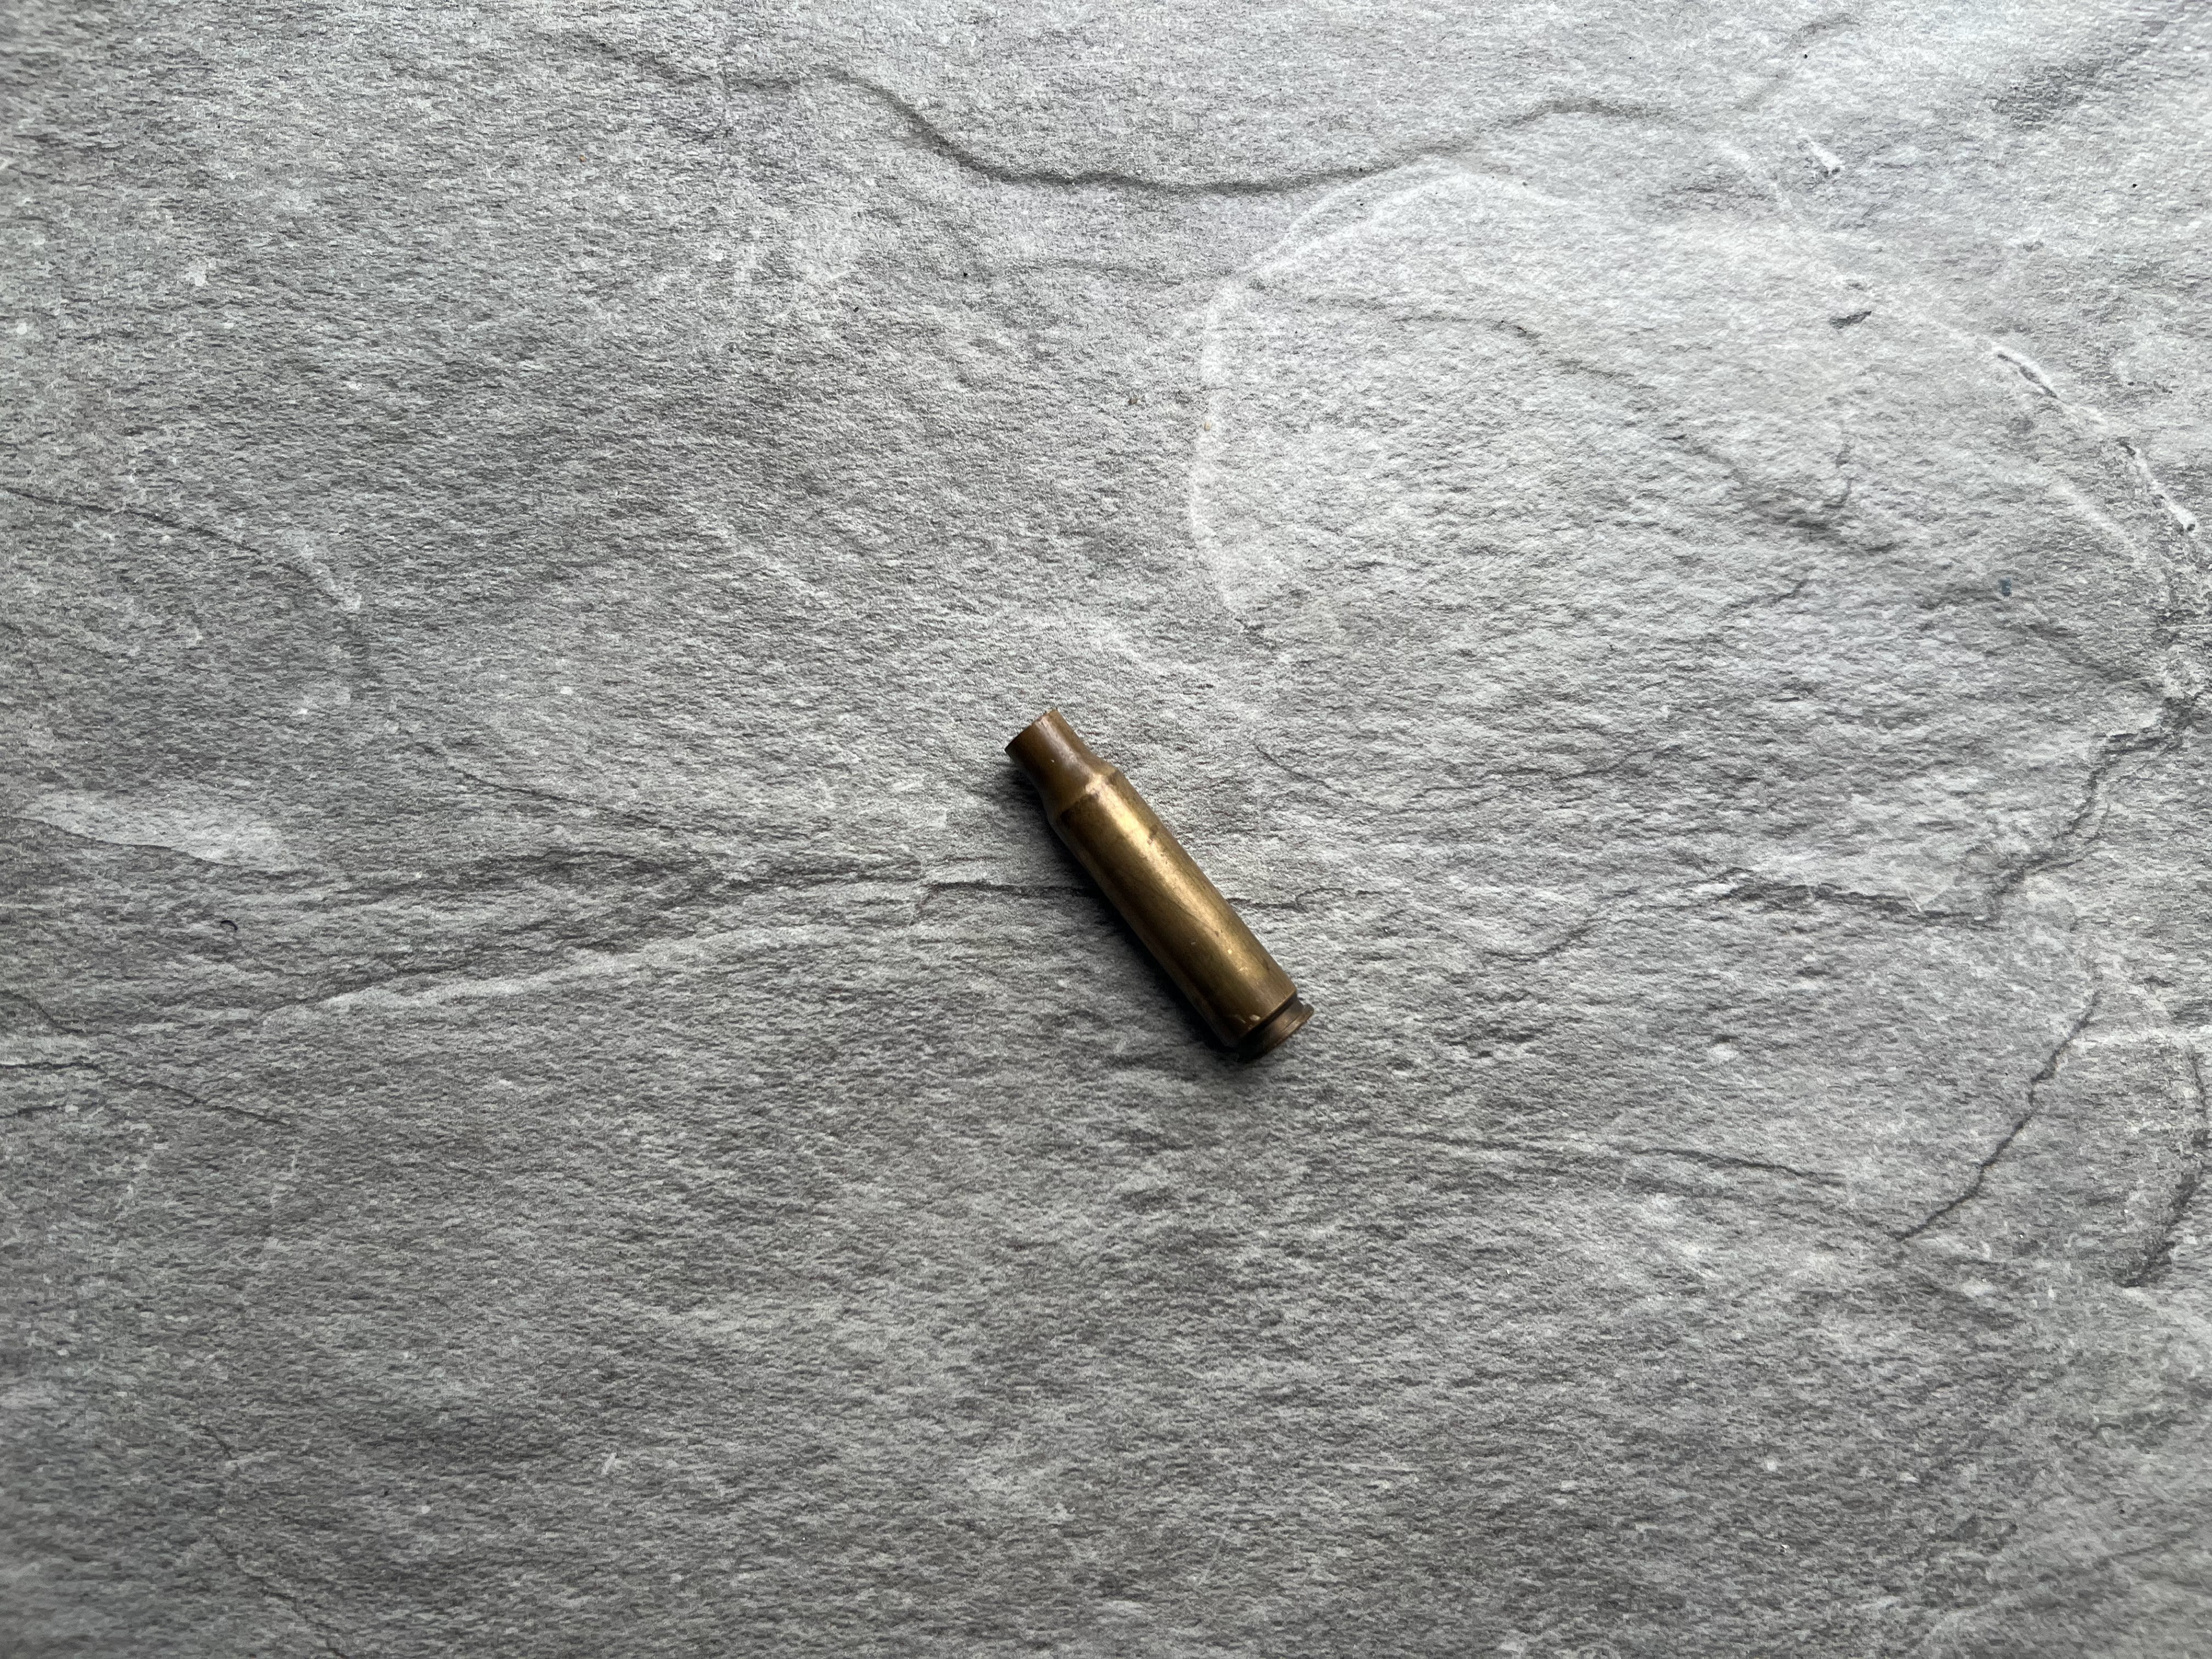
The bullet casings falling were recorded by taking an inert round and dropping it on the same material used for the footsteps. Prior to this I attempted to recreate the sound with other metallic items such as coins and bolts however nothing made a sound quite like it.

The footsteps were recorded using bathroom tiles. I bought one big tile in which to use as a baseplate, then broke small tiles into fragments before scattering them over and recording the steps. I also recorded some clean footsteps which I used underneath the tile sounds for some low frequency impacts, giving more volume to the footstep sounds. Whilst I was already set up, I recorded moving and scraping small fragments of tile with no distinct purpose but as some audio I could pull from if I saw the opportunity. I later used a lot of these small scrapes and scattered them among the footstep sounds, making it sound like the character is disturbing broken tiles when performing turns or between steps. This again helped with the realism of the audio and fills the space between visually cued sounds.

To add more realism to the visual I recorded character movement. This was a very experimental technique in which I mimicked the characters movement and recorded the audio. To exaggerate this I wore multiple layers with a waterproof jacket and plate carrier. This audio was cleaned and compressed to make it more of a background track rather than a loud and upfront piece of audio. It become one of those sounds where the listener doesn't notice it but it feels empty without it, therefore making it very important.
All the audio recorded was cleaned using audacity. This software has an advanced feature of noise removal, allowing you to take a sample of sound and remove it from an entire recording. To help with this process I always record 5-10 seconds of silence at the beginning of takes, this allows me to select that section and tell the software to remove those frequencies from the rest of the take. This is great for removing background noise which is always present no matter how well you prepare. Just a computer running in the room creates a lot of disturbance in the audio and this technique is perfect for countering such sounds.
This screenshot shows the before (top) and after (bottom) with the noise reduction applied.

Finally, at the end of the video you can hear me smack my elbow against my desk while recording and trying my best not to make any noise to interrupt the recording. Though painful, I found it funny and decided to leave it in as an extra.